This tutorial will show you how to setup a landing page for making avaialble to your users your avaialble memberships in an organized fashion. There are a few parts to setting this up:
- Setup the Categories
- Assign the Membership Programs
- Let Your Customers Browse
Setup the Categories
We first want to setup the categories that we're going to organize and group the memberships into.
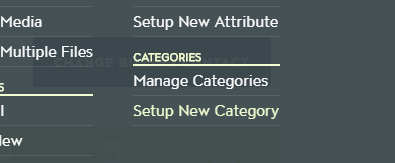
- Go to the company/settings menu and click on Setup New Category
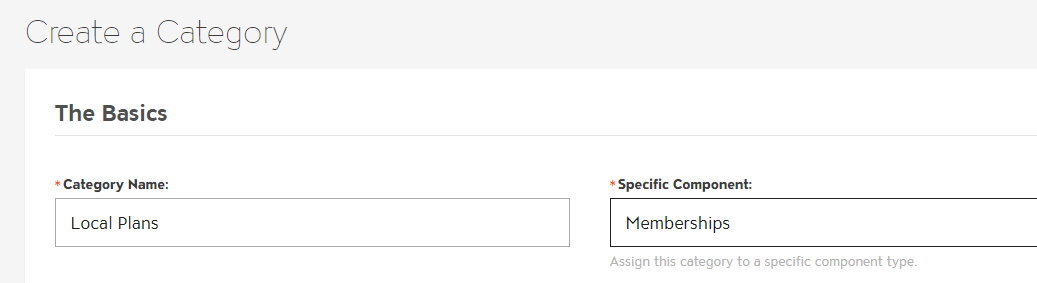
- Set the component type to Memberships and apply any other settings you would like
Assign the Membership Programs
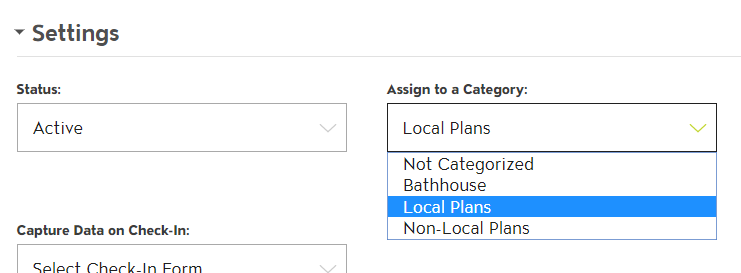
Now that the categories are setup, you can assign them to the memershp prorgams you setup. Under the settings on the membership program, you will see Assign to a Cateogry where you can now assign it to the category you created.
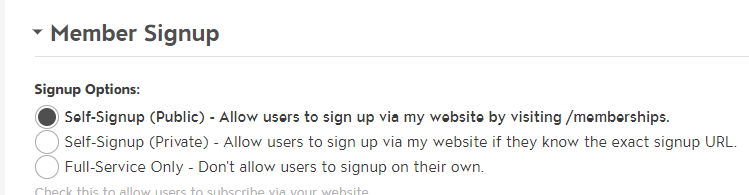
Also under the Member Signup section, make sure you set the signup option to Self-Signup (Public) which will make the membership available to the public.
Let Your Customers Browse
Once you've setup all the membership programs and applied them to the categories, you can now view them and allow people to sign up by going to https://member.yourwebsite.com/memberships. This will display the available membership programs grouped together in the categories selected.
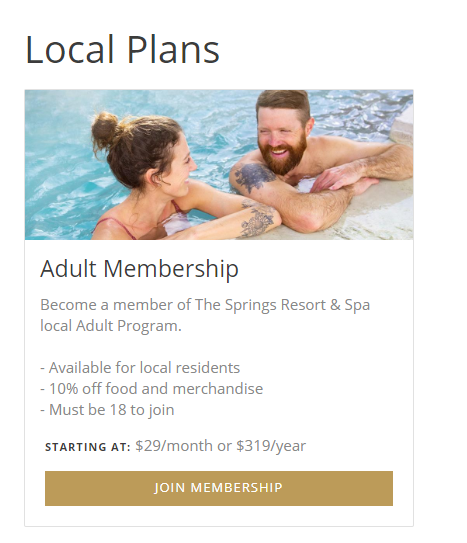
We recommend you add text anda banner to the categories to provide a nicely designed experience.