Follow this tutorial to see how to sync your data with Salesforce via our Webhook engine. This is great for outbound and of course our API is best for inbound data (but the inbound would require development from your Salesforce dev shop).
There are a few steps to getting this started:
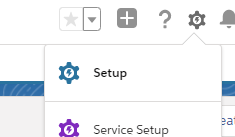
- In your Salesforce account, go to the Setup menu (found by clicking the Settings icon)
- Go to the Platform Tools > Apps > App Manager and create a new Connected App
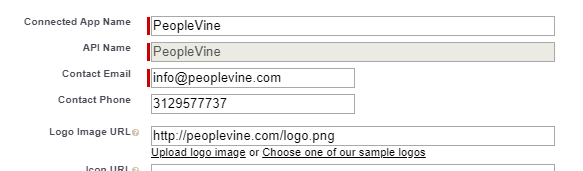
- Enter the basic information with PeopleVine's contact info (this is more for your reference)
- Under the API section, select Enable OAuth Settings,
- enter the callback URL as https://control.peoplevine.com/admin_authenticate_salesforce.aspx (change .com to .co.uk for Region 2)
- select the scopes as:
- Access and manage your data (API)
- Perform requests on your behalf at any time (referesh_token, offline_access)
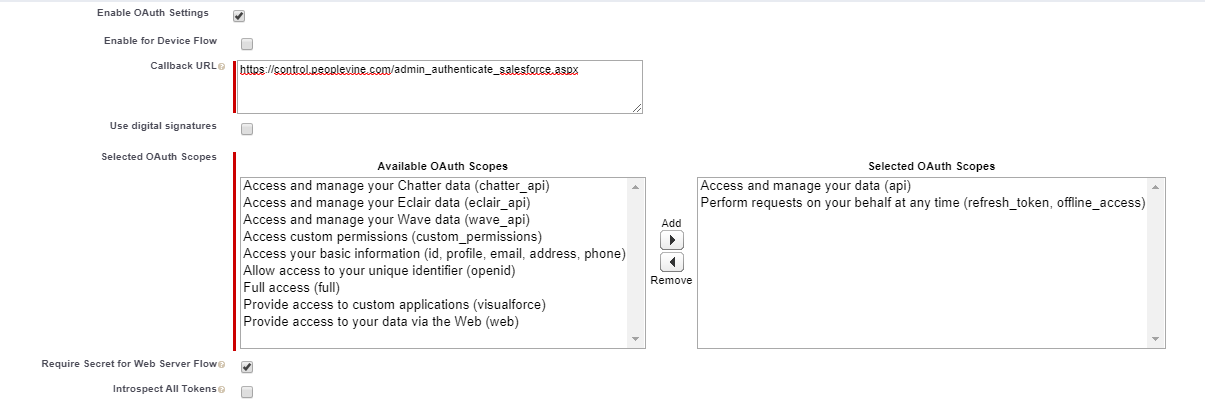
- and lastly check require secret for web server flow. Then hit save.
- Once your app is created, you can view the app settings. Here's you'll find the Consumer Key and the Consumer Secret. Grab these items as you will need to add them to PeopleVine.

Now login to PeopleVine:
- Go to the settings menu in PeopleVine and click on Integrated Platforms
- Scroll to find the Salesforce logo
- Copy the Consumer Key and the Consumer Secret
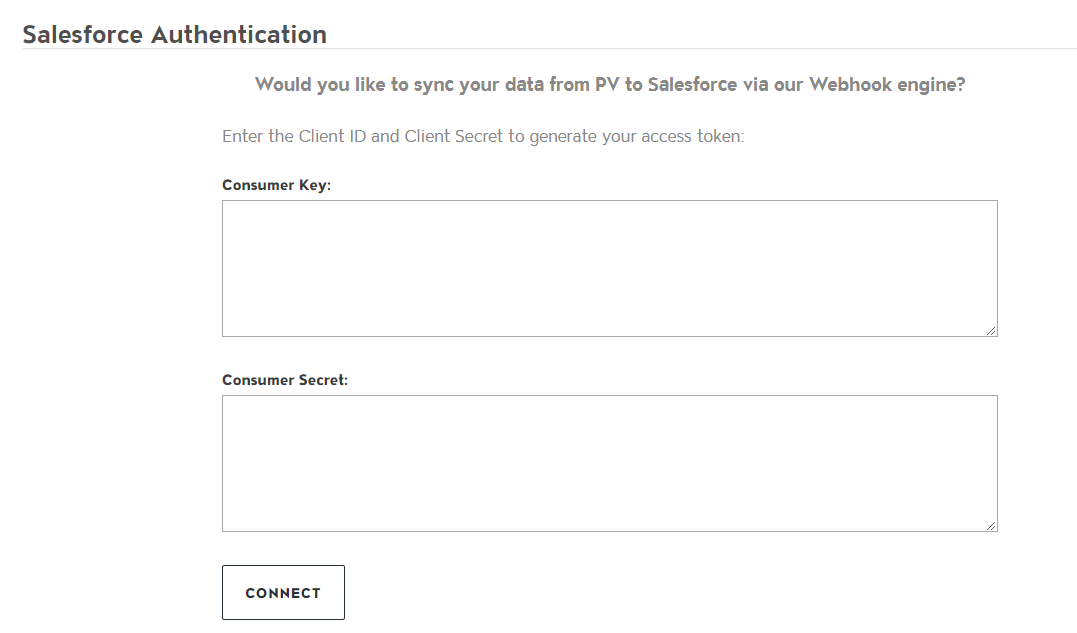
- Once you have entered this info, click on Connect.
- You will now be prompted to enter your Salesforce credentials to complete the authentication
If everything is successful, you will get a confirmation alert at the top of the screen.
Now that your'e connected, you can setup Webhooks to send data to Salesforce:
- Click on Automate > Webhooks > Setup New Webhook
- Select the activity to trigger (e.g. Customer Registers)
- Compelte the webhook settings and enter the URL for your specific Salesforce instance (this allows you to push data to custom tables) (e.g. https://xxxxxxxxxxxxx.my.salesforce.com/services/data/v48.0/sobjects/Contact/)
- Select to use your Salesforce user credentials
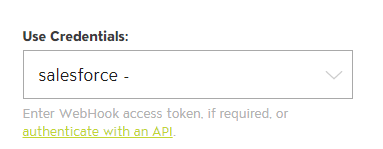
- Enter your header object to pull in the token
Authorization: Bearer {@authenticate_guid@}
- Then enter the body mapping PV fields to Salesforce fields.
- Save the webhook and give it a try. Please note that Salesforce has certain field requirements, you can achieve these with our HAPI language.
Here are some sample webhook mappings:
New Customer in PV Mapped to Contact in SF
{
"FirstName": "",
"LastName": "",
"Email": "",
"Birthdate": "{@birthdate:date(yyyy-MM-dd)@}",
"Phone": "",
"MailingCity": "",
"MailingCountry": "",
"MailingPostalCode": "",
"MailingState": "",
"MailingStreet": " ",
"MobilePhone": ""
}
New Member in PV mapped to Opportunity in SF
{
"Amount__c": "{@subscription_rate@}",
"Autorenewing__c": {@auto_charge:boolean@},
"Billing_Address_Type__c": "Home",
"Billing_City__c": "{@card.city@}",
"Billing_Country__c": "{@card.country@}",
"Billing_Postal_Code__c": "{@card.zip_code@}",
"Billing_State__c": "{@card.state@}",
"Billing_Street_1__c": "{@card.address1@}",
"Billing_Street_2__c": "{@card.address2@}",
"Birthdate__c": "{@customer.birthdate:date(yyyy-MM-dd)@}",
"Company__c": "{@customer.company_name@}",
"Email_Address__c": "{@customer.email@}",
"First_Name__c": "{@customer.first_name@}",
"Last_Name__c": "{@customer.last_name@}",
"Membership_Level__c": "{@service.service_title@}",
"Newsletter_Signup__c": {@customer.opt_in_email:boolean@},
"Primary_Phone__c": "{@customer.mobile_number@}",
"Primary_Phone_Type__c": "Mobile",
"Secondary_Phone__c": "{@customer.phone_number@}",
"Secondary_Phone_Type__c": "Home",
"Shipping_Address_Type__c": "{@customer.address@}",
"Shipping_City__c": "{@customer.city@}",
"Shipping_Country__c": "{@customer.country@}",
"Shipping_Postal_Code__c": "{@customer.zip_code@}",
"Shipping_State__c": "{@customer.state@}",
"Shipping_Street_1__c": "{@customer.address@}",
"Shipping_Street_2__c": "{@customer.address2@}",
"Stripe_Charge_Id__c": "",
"Stripe_Customer_Id__c": "",
"Stripe_Subscription_Id__c": "{@subscription_no@}",
"Title__c": "{@company_title@}"
}