How to set up a drop ship notification

Learn how to set up an email notification to be sent to a drop ship fulfillment partner when a product order is placed.


When your customer places an order from your store (be it with money, points or credits) you can set up an email notification by location to be sent to your drop shop fulfillment partner. Here is how to set that up. 

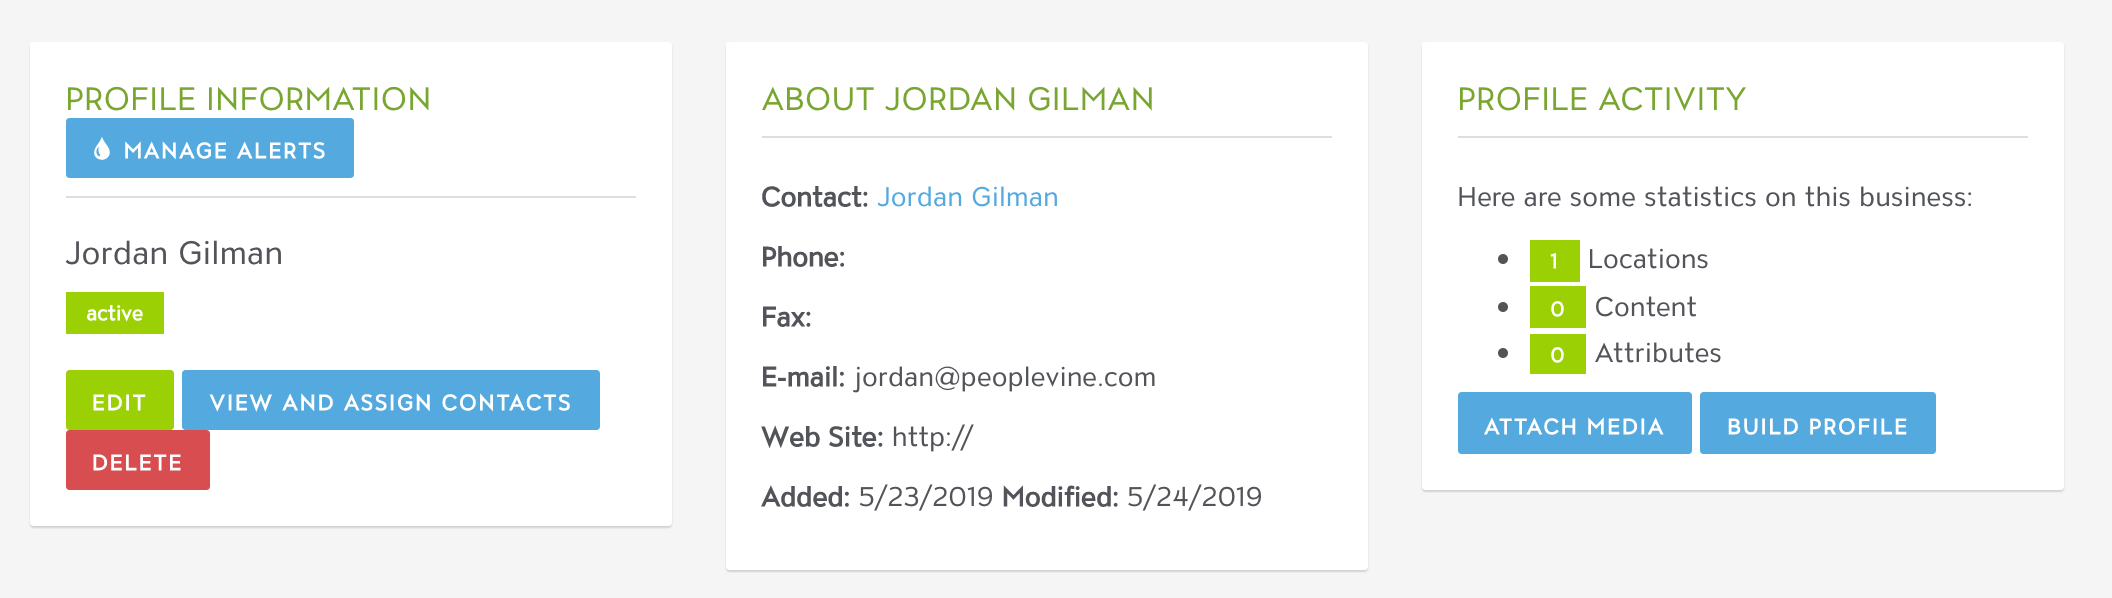
  1. Set up a brand/warehouse location under the Directory (Sell > Directory).
  2. Minimally, you need to provide a profile name (required), email address, and assign a profile contact (you will need to create a CRM profile for this person beforehand in order to assign him/her to this new location).
  3. You can leave everything else blank or in its default setting. Or, feel free to complete the rest of the directory profile as you see fit. 
  4. Click "Update Business".

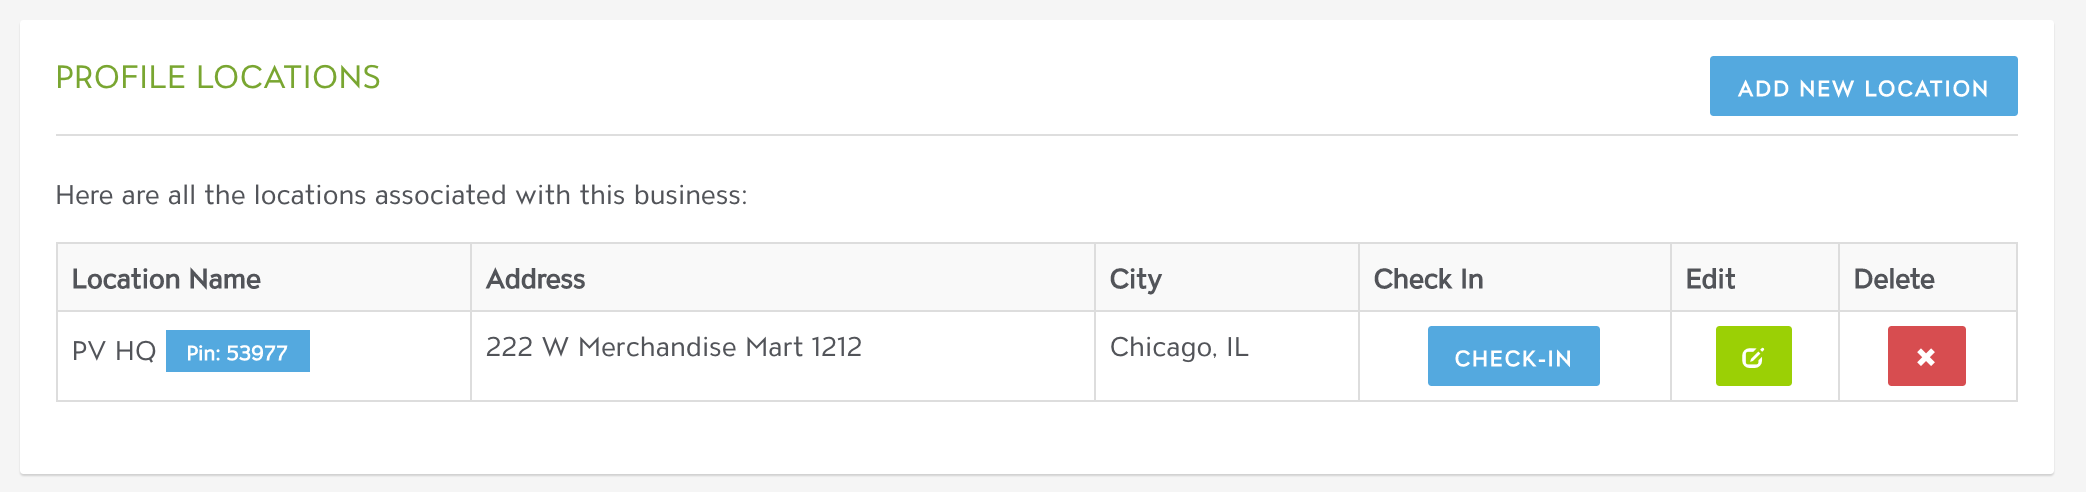
Great, now you've created a location directory profile. Next you need to add a business location to this new directory profile. 

  1. Click "Add a New Location".
  2. Minimally, you need to provide a location name (required), email address, street address, city, state, and zip code. 
  3. You can leave everything else blank or in its default setting. Or, reel free to complete the rest of the business location as you see fit. 

Good work. You've just created a busines location inside of your directory profile. You're almost done. Now, you need to create an inventory location.

  1. Click "New Inventory Location" (Sell > View Inventory > New Inventory Location) - green button on the top right. 
  2. Select the warehouse location you created.
  3. If your product(s) is located in a particular area within the warehouse feel free to provide the area, column, row, and slot. Otherwise, you can leave these blank.
  4. Click "Save".
  5. Add as many inventory locations as you need. Otherwise skip to the next step.
  6. Go back to the inventory page (Sell > View Inventory). You should see the products you have in your ecommerce store. 

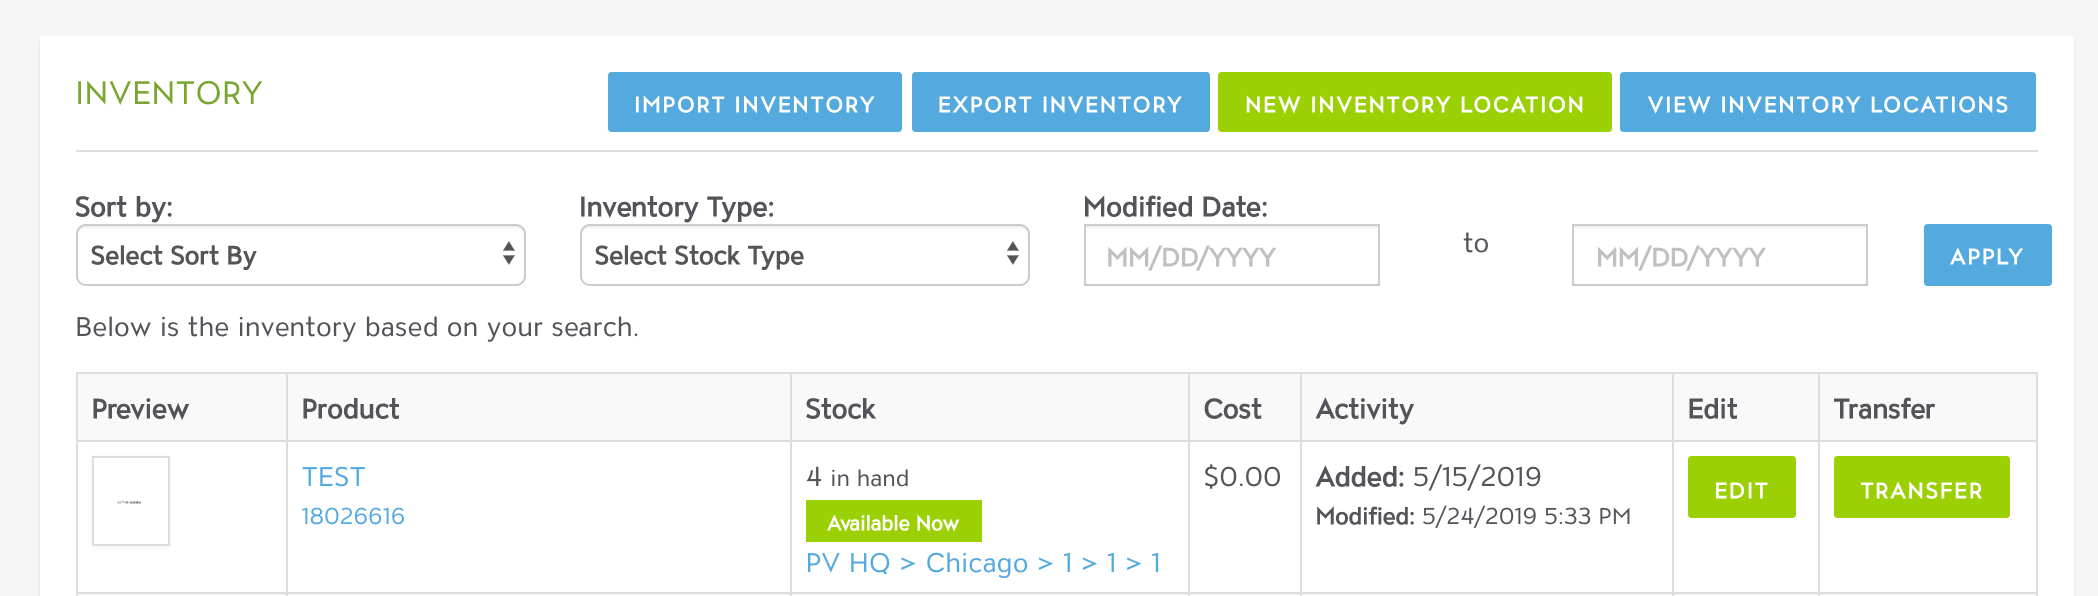
  1. Click "Edit" on the products you wish the fulfillment partner to be notified about when purchased.
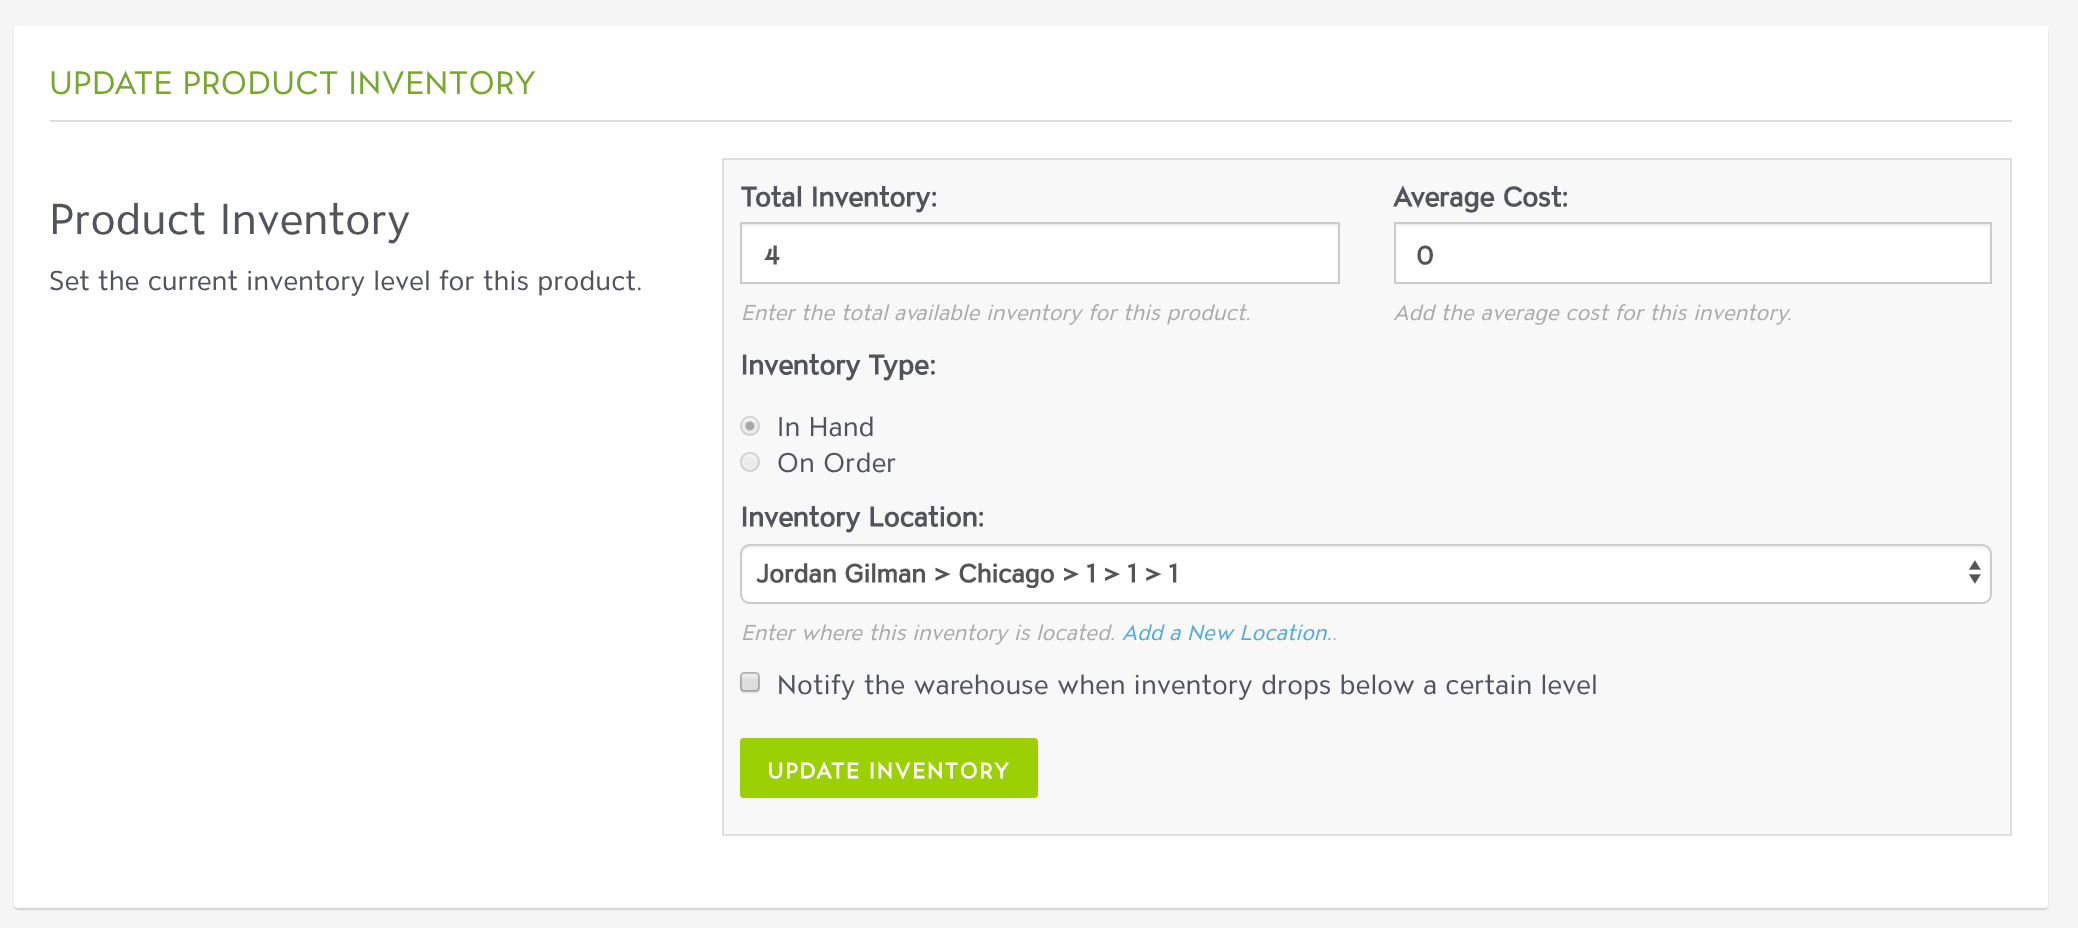
  2. Add total inventory, type of inventory (usually "In Hand" however depends on you) and make sure the new inventory location you created is selected on this page.
  3. Feel free to leave the Average cost blank and "Notify the warehouse when inventory drops below a certain level" unchecked unless you wish to notify the warehouse as such.
  4. Click "Update Inventory".

You are now done. This means, the next time your customer purchases that product that is now assigned to the business location you create the fulfillment partner will receive an email notfication. 

Please let us know if this article was helpful. Thanks.

Additional Help Tutorials

Find more ways to grow on PeopleVine.

Configure Salto to Work with Peoplevine Check-In

Follow these steps to configure your Salto to auto Check-In members when they use a Salto keycard.

Posted January 12, 2024

Detailed Member Statements & Billing

Unveiling Peoplevine's Member Statements & Billing feature: a comprehensive tool ensuring utmost transparency, simplicity, and efficiency in every financial transaction for both members and operators.

Posted September 28, 2023

New and Improved Timeline View

Dive into Peoplevine's My Schedule Timeline View: a feature designed to bring unmatched convenience and clarity to members' and guests' schedules, centralizing everything from dining to events.

Posted September 28, 2023

Spa & Wellness Booking with Book4Time Integration

Experience the perfect synergy of Peoplevine and Book4Time: a collaboration that transforms spa and wellness bookings, merging front-end engagement with backend efficiency.

Posted September 28, 2023

Going Global

Discover how PeopleVine's "Global Network" solution is set to revolutionize the hospitality industry by unifying brand experiences across multiple properties, whether globally or within a local region, offering members a seamless digital experience and granting operators unparalleled insights.

Posted September 28, 2023

Override the Guest Pass E-mail with Template

You can replace the e-mail sent to a guest when a guest pass is issued while retaining the necessary links to ensure they can activate it.

Posted September 27, 2023

Transaction Reporting has an Upgrade

We updated the Transaction Reporting screen to provide you with the data necessary to provide a glimpse at your revenue and the necessary data to audit your financials.

Posted September 7, 2023

You Can Set the Time to Process Authorizations

When a charge is processed through your POS, the charge may be Authorized until we capture the tip or at the end of day to handle refunds or changes. In this case, you can now set the time as to when we will process your authorizations.

Posted August 28, 2023

Adding Your Alliants Integration

Follow these steps to connect Peoplevine with your Alliants account for messaging.

Posted August 28, 2023

Setup Your Membership Tiers Based on Age

You can enable your membership tier to be for members between certain ages, when they past that age, they will automatically migrate to the next age tier.

Posted August 22, 2023

Follow these steps to update your Twilio settings to ensure delivery

This article will overview how to setup your brand and campaigns for broader/better delivery.

Posted August 10, 2023

Select Which Transaction Types You Want to Sync with Quickbooks

You're able to select which types of transaction items you want to sync to Quickbooks.

Posted June 14, 2023

Configure your Member Portal to Show Spa and Wellness

Once your Spa and Wellness feature is enabled, you need to configure the following to display on your member portal.

Posted June 14, 2023

Setup a Temporary ID for Hotel Guests

You can allow hotel guests to act as a member during their time at your property by leveraging these settings.

Posted May 23, 2023

© Peoplevine 2024. Powered by PeopleVine. Terms of use | Privacy & cookies